Uploading Media
Scenarios
Upload the media content to VNNOX to create an online media library that can be accessed anytime, anywhere.
Related Information
The media types supported in VNNOX Standard are shown in Media types supported by media library and Media types supported by solutions. The total media storage capacity is 5 GB.
| Media Type | VPlayer | Asynchronous Players |
|---|---|---|
| Video |
Video container formats: MP4, AVI, RMVB, FLV, MKV, WMV, MOV |
Video container formats: MP4, AVI, FLV, WMV, MOV |
| Audio | Currently not supported |
MP3 Note: MP3 files can only be used as background audio for text and images. |
| Image | JPG, PNG, ICO, BMP, GIF, JPEG | |
| Document | Word, Excel, PPT, PDF | |
| Media Type | VPlayer | Asynchronous Players |
|---|---|---|
| Video |
Video container formats: MP4, AVI, RMVB, FLV, MKV, WMV, MOV |
Video container formats: MP4, AVI, FLV, WMV, MOV |
| Image | JPG, PNG, ICO, BMP, GIF, JPEG | |
| Mixed media | Include all the media types supported by solutions. | |
| Web page | Supported | |
| RSS | Supported | |
| Streaming media | HLS, RTMP and RTSP can be played but cannot be previewed online. | |
| Widget | Text, clock, environment monitoring, weather, calendar, window, colorful text | |
| HDMI IN | This type of media is available for the TU40 Pro only. | |
When a video does not meet the decoding requirements of certain asynchronous players, a corresponding prompt will be displayed in the media list, allowing users to view the details for further action.
Operating Procedure
- From the menu bar, choose Content.
- Select Tile View or List View according to your
preference.
Figure 1. Media library-tile view 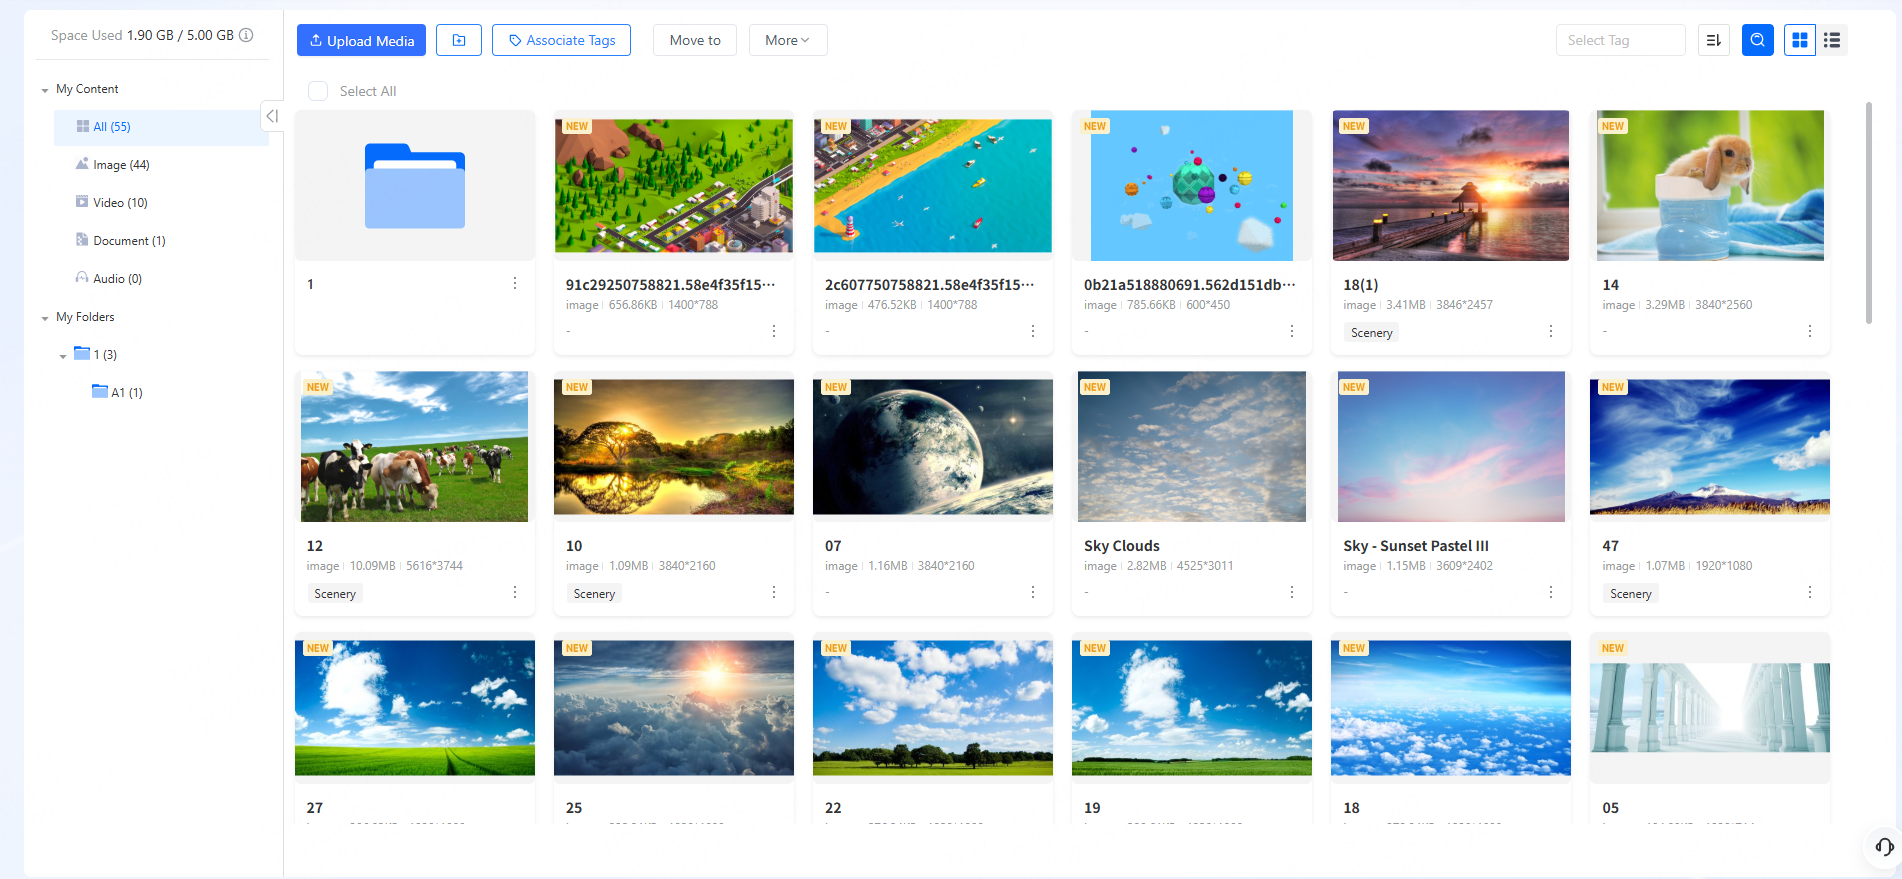
Figure 2. Media library-list view 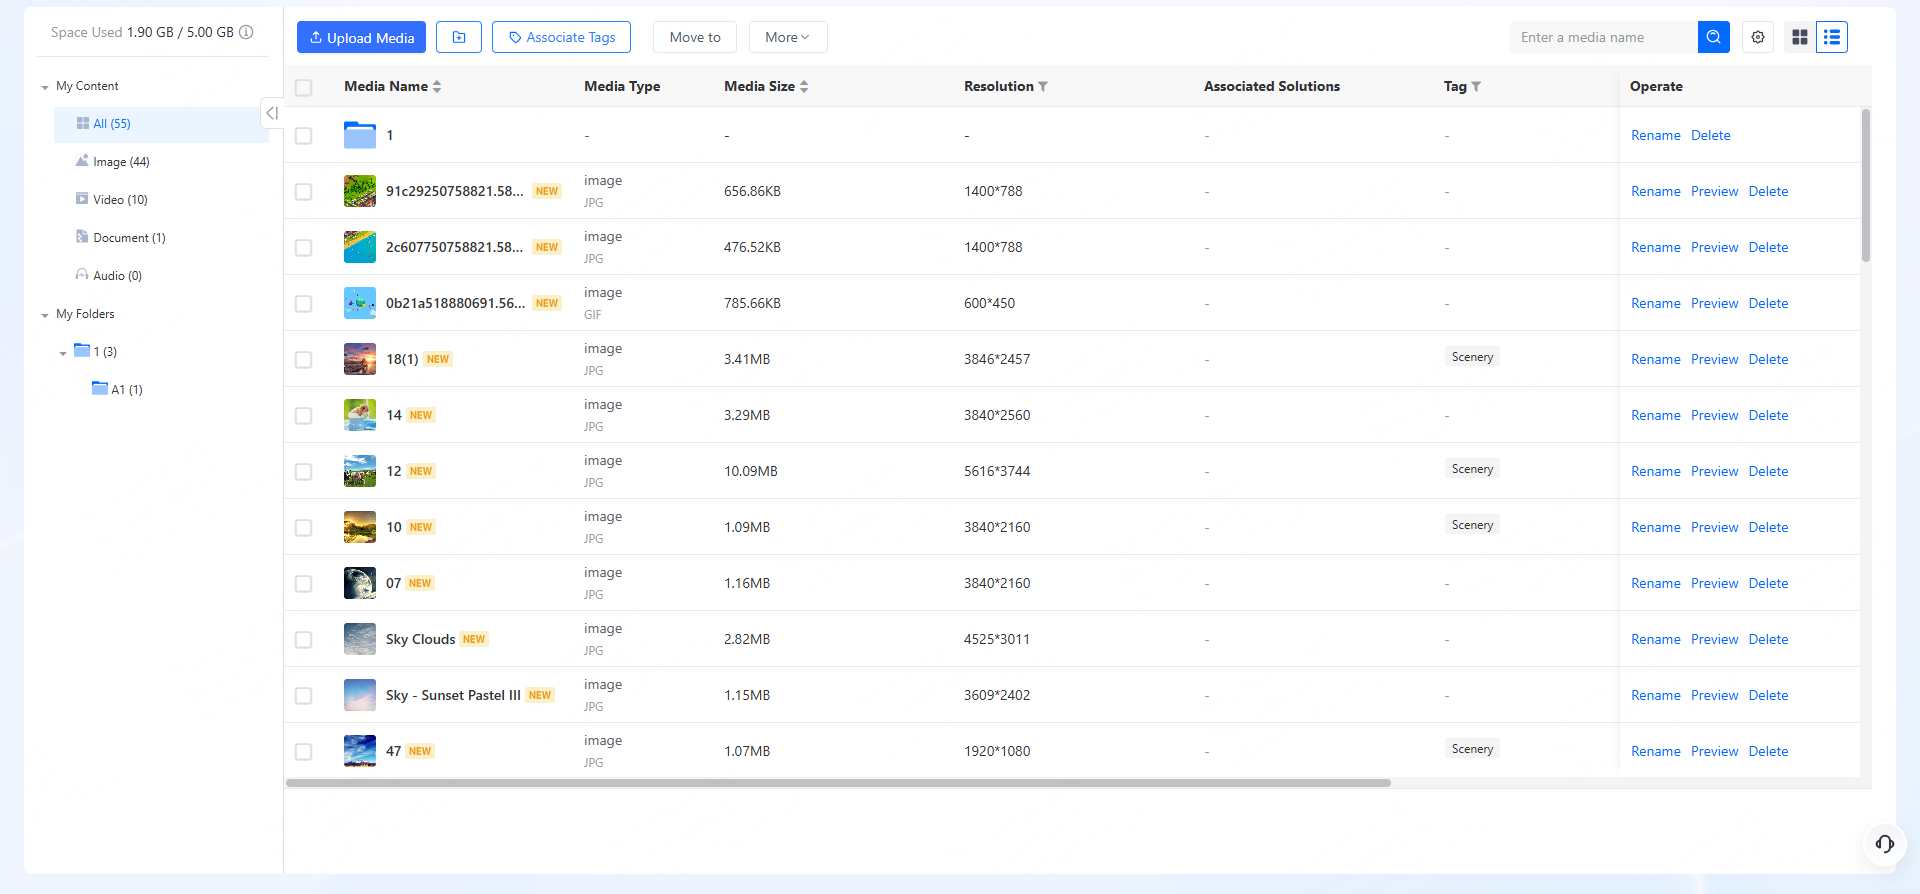
- Click Upload Media, select videos, audios, images or documents from your
local storage, and click Open.
- Associate Tag: From the media list, select media, click Associate Tag, select tags, and then click OK to associate the media with the tags. For details, see Associate Screens with Tags.
- Change Workgroup: From the media list, select a media item, click Change Workgroup, select a workgroup, and then click OK.
Note:The workgroup of the media is the same as the workgroup of the user by default and the user can change the workgroup for the media to the user’s workgroup or a sub-workgroup. If the user is a system administrator, the user can also change the media to the public resource workgroup.
- The system administrator can preview, edit, and delete media within all workgroups.
- Sub-users can preview, edit, and delete media in their respective workgroups and sub-workgroups, but can only view media in public resource groups.
- If a media item contained by a solution is deleted from the media library, the solution cannot be published. Modify the solution and then update and republish it.
Media with a resolution less than 48×48 pixels cannot be uploaded, and media with a resolution greater than 4096×2304 pixels requires transcoding when uploaded.
- Request for media approval of the uploaded media. For details, see Media Approval.
- (Optional) To manage media by using folders, do the following.
- Click
 to create a folder, enter a name for the
folder in the pop-up box, and click OK.
to create a folder, enter a name for the
folder in the pop-up box, and click OK.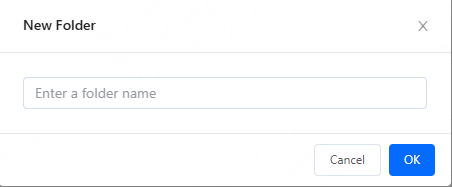
- In the My Folders area on the left side of the
page, the new folder is displayed. Click
 to create
a sub-folder. The folder structure supports up to four levels. Click
to create
a sub-folder. The folder structure supports up to four levels. Click
 to rename or delete the folder.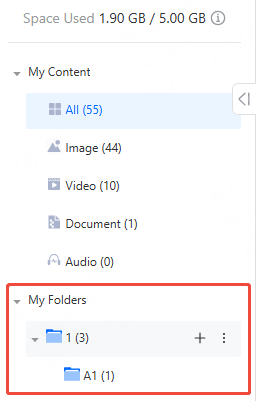
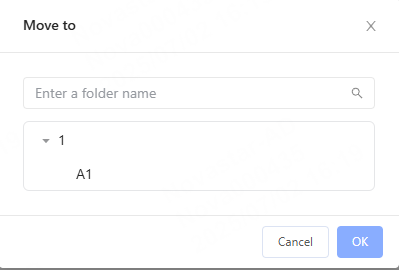
- Select the desired media from the media list and click Move
to. In the pop-up box, choose the folder to move the
selected media to and click OK.
- Click