Location Targeting
Draw the target areas on the map. When the vehicle-mounted screens enters the target areas, the schedule associated with the location targeting task will play.
Operating Procedure
- From the menu bar, choose Schedule.
- Select the desired schedule on the left of the page.
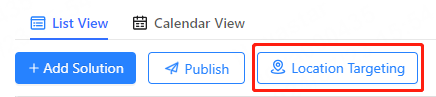
- On the List View tab, click Location
Targeting.
- Do any of the following to specify a target area. (You can enter a location name in the search
box to search for the location.)
- Click Polygon to select points sequentially on the map to draw a polygon area, and double-click to end the point selection.
- Click Circle, select the center point on the map, and drag the mouse outward to adjust the diameter.
- In the Basic Properties area, set area properties.
- Change the target area name.
- When the area is a circle, set its radius.
- Set the color of the target area on the map.
- Associate solutions in the schedule with areas.
- Click an area on the target area list or the map.
- Select solutions in the Associated Solutions section.
- Click OK.
Note:The associated solutions must contain content.
- Do the following as needed:
- In the area list, click the delete icon to delete an area.
- In the area list, drag an area to adjust the sequence in the list. When there are overlapping areas on the map, the vehicle-mounted screen within the overlapping area will play programs according to the order in the area list, and the content of the solutions in the overlapping area will repeat continuously.